As parents, we do everything we can to protect our children—from installing car seats to putting helmets on them when they ride bikes. But when it comes to protecting their teeth, even the most meticulous toothbrushing routines can leave behind vulnerable zones.
The back molars are built with deep pits, grooves, and fissures on their chewing surfaces. These natural microscopic grooves are often narrower than a single toothbrush bristle. Food debris and bacteria get trapped deep inside these crannies, creating a perfect environment for cavities to form.
This is precisely where dental sealants come in as one of the most effective preventative tools in modern pediatric dentistry.
What Is a Dental Sealant?
A dental sealant is a thin, medical-grade, biocompatible clear or tooth-colored resin coating painted directly onto the chewing surfaces of the back molars. It flows into the deep pits and fissures, bonding to the enamel and instantly hardening into a smooth, protective shield.
Think of a sealant as a tailor-made raincoat for your child’s molar. It seals out food, bacteria, and acids, allowing toothbrush bristles to sweep smoothly across the tooth surface.
Deep Unsealed Molar Groove Sealed Molar Surface
[Bacteria & Food Get Trapped] ───► [Smooth Protective Barrier]
(High Cavity Risk) (Food Sweeps Away Easily)
The Painless 4-Step Application Process
Many parents wonder if getting sealants involves drilling, needles, or uncomfortable procedures. The short answer is absolutely not! Sealants are 100% non-invasive, quick, and painless.
Step 1: Thorough Cleaning: The molar is cleaned and polished to ensure all surface plaque and microscopic food bits are removed.
Step 2: Surface Preparation: A mild conditioning gel is brushed onto the tooth for a few seconds to slightly etch the enamel, creating a microscopic texture that helps the sealant adhere securely. It is then thoroughly rinsed with water and dried.
Step 3: Painting the Sealant: The liquid resin is carefully painted into the deep grooves of the molar using a tiny brush.
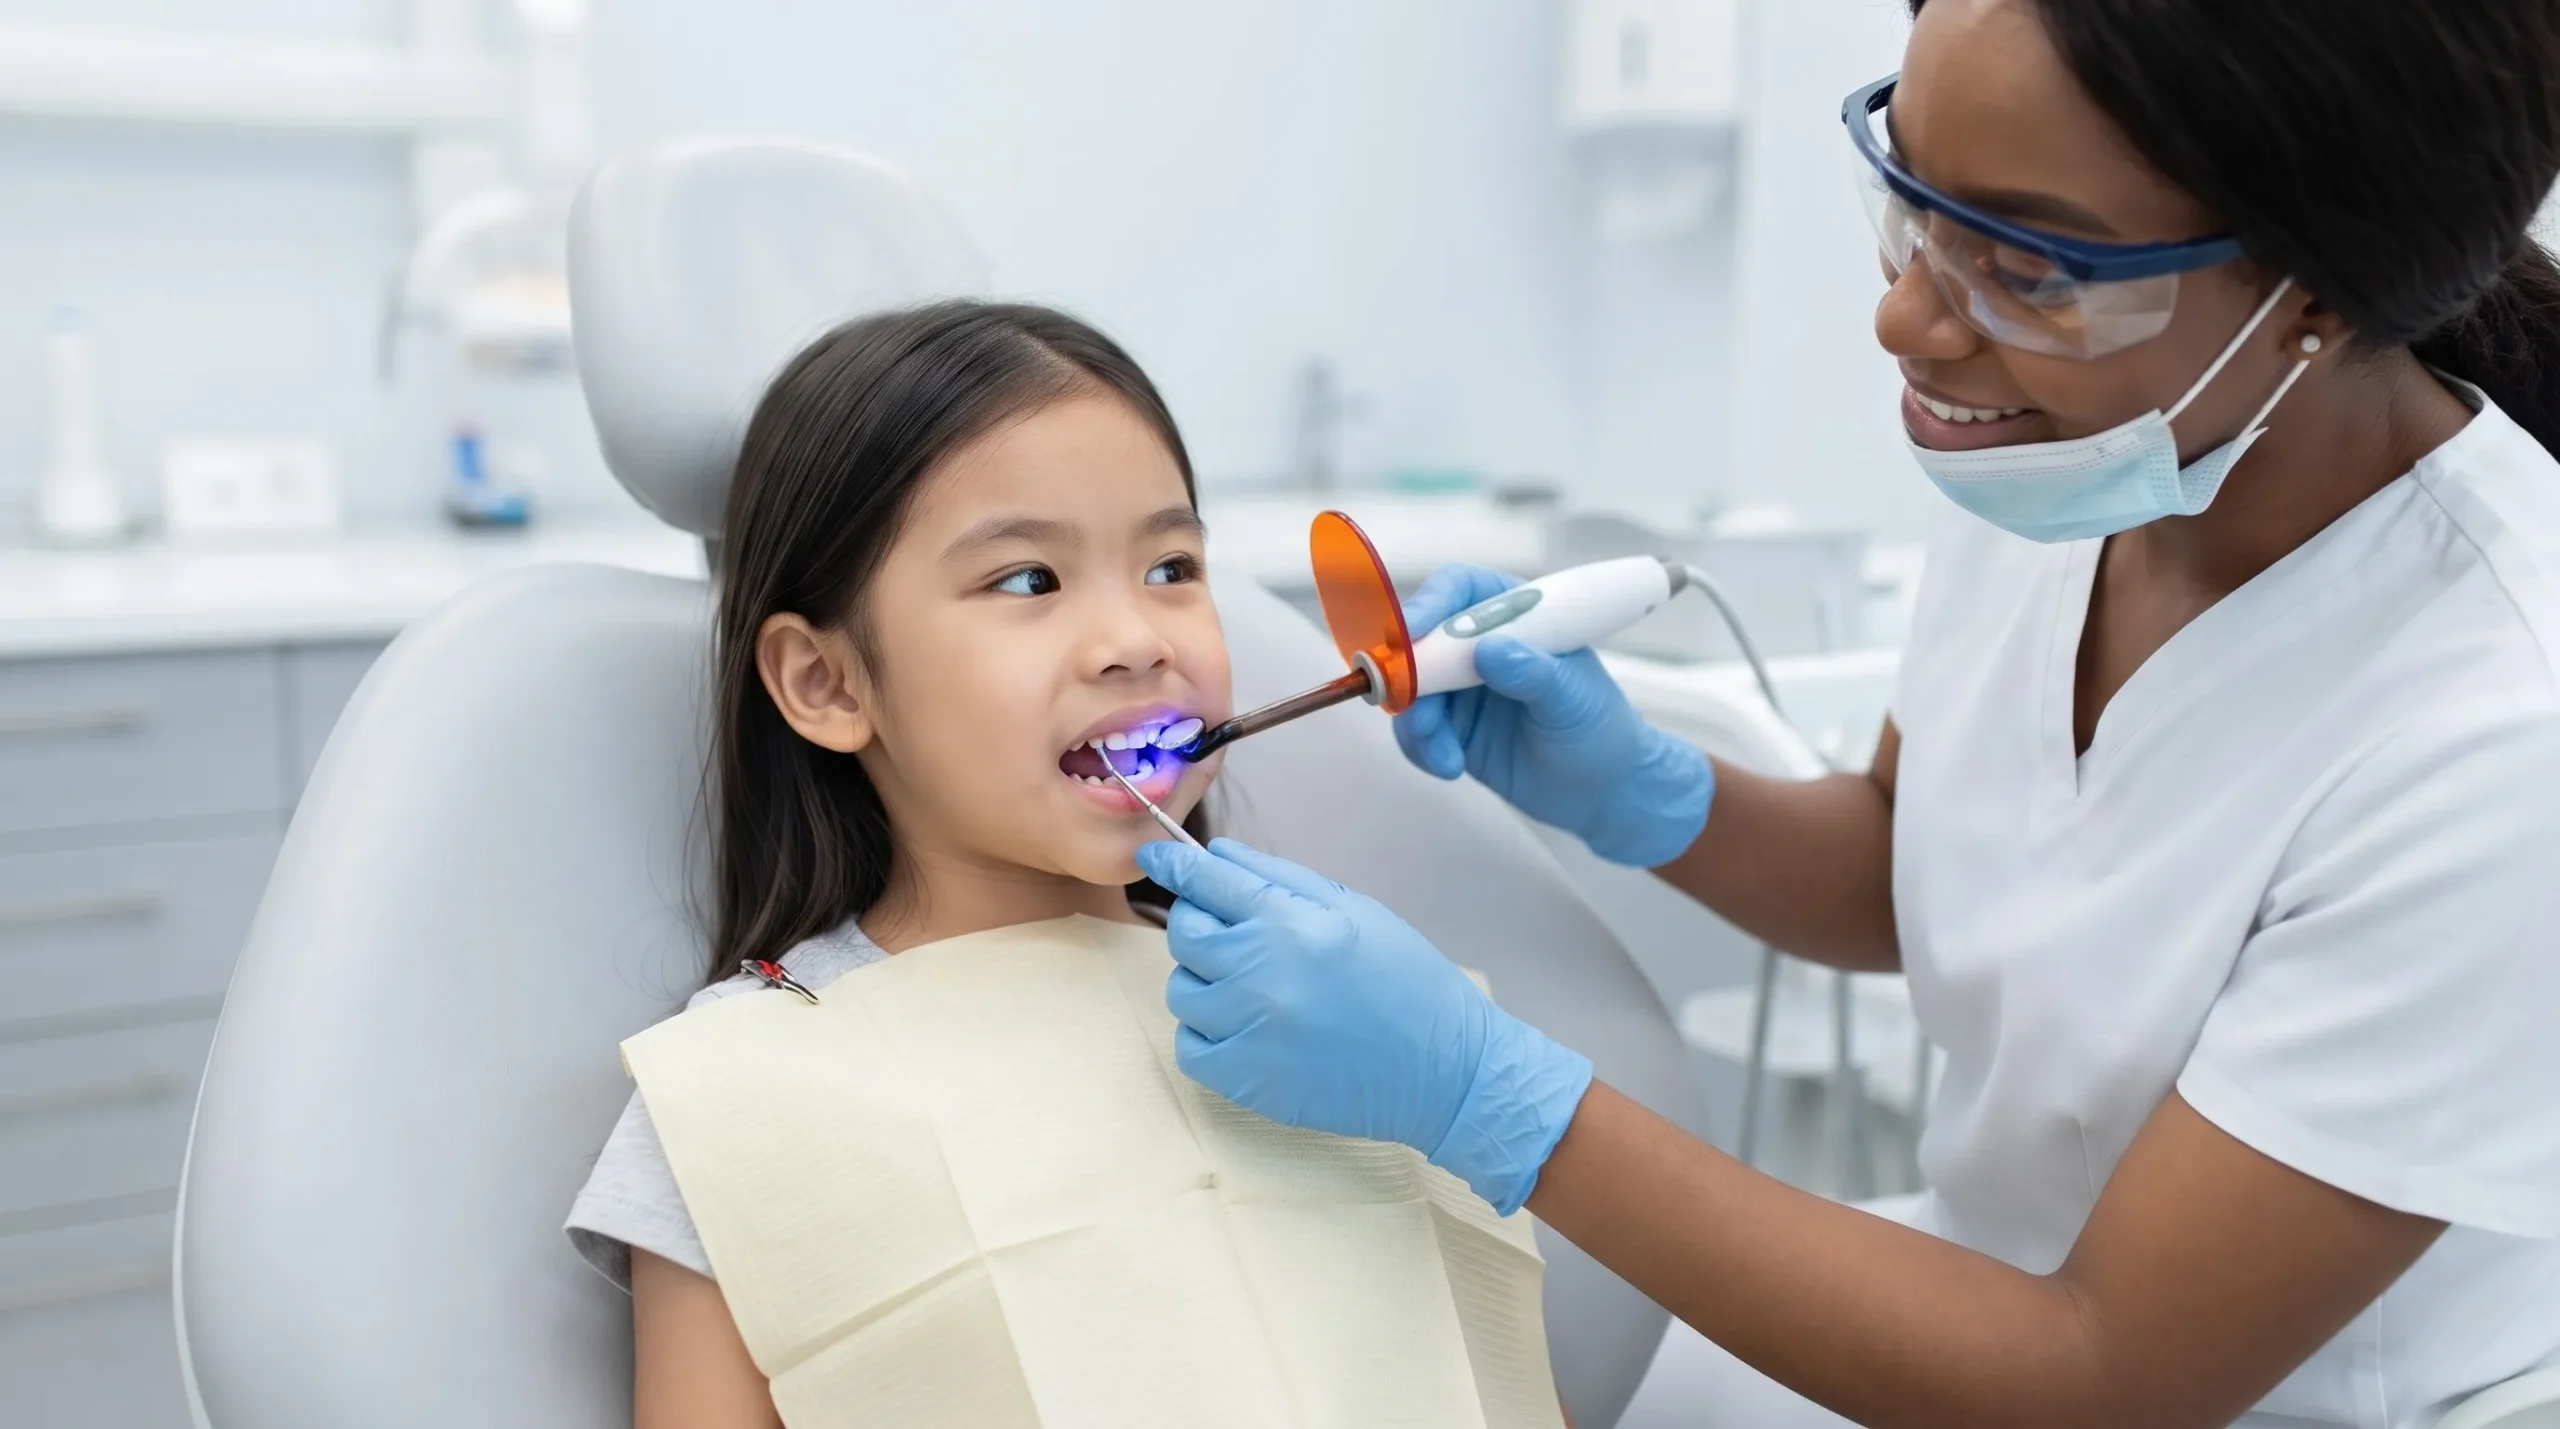
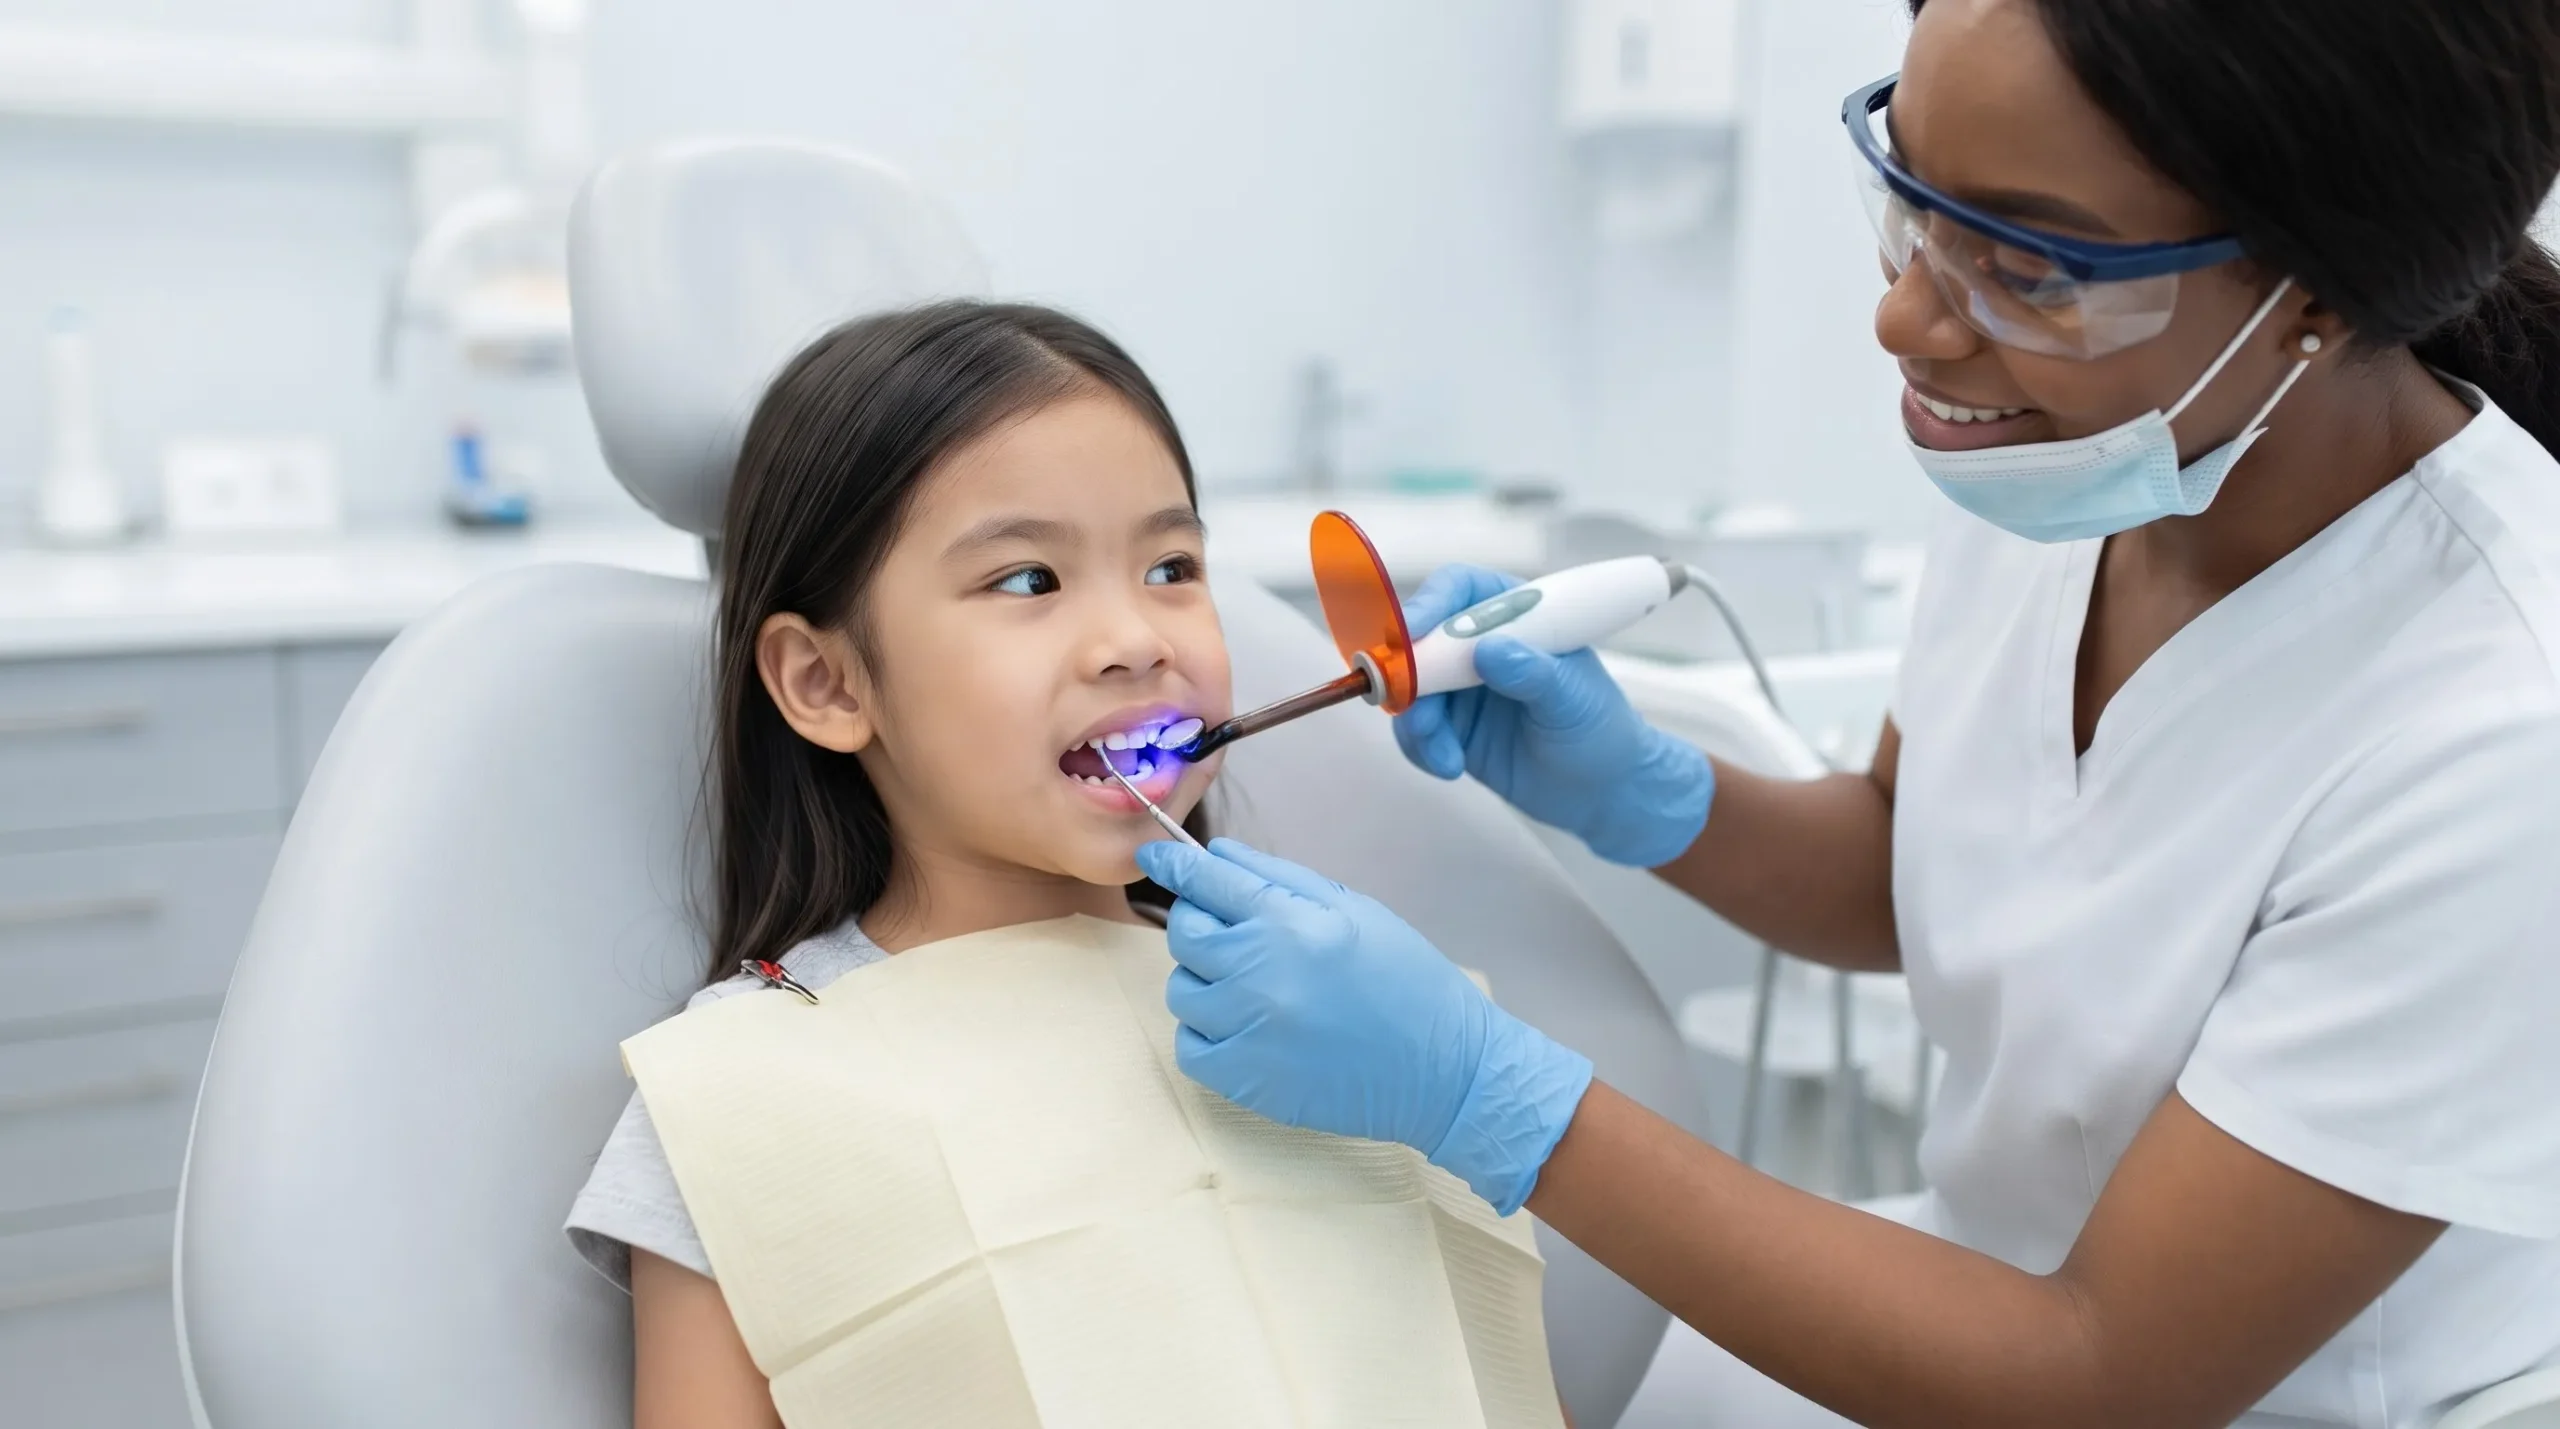
Step 4: Light Curing: A special blue LED light shines directly on the tooth for roughly 20 seconds. This light cures and hardens the material instantly into a durable shield. Your child can eat and drink immediately after the appointment!
When Should Kids Get Sealants?
Sealants should be applied as soon as the permanent molars break through the gums, before decay has a chance to start:
First Permanent Molars (“6-Year Molars”): Typically erupt between ages 5 and 7.
Second Permanent Molars (“12-Year Molars”): Typically erupt between ages 11 and 14.
According to research from the Centers for Disease Control and Prevention (CDC), dental sealants prevent up to 80% of cavities in back molars for two years after placement and continue protecting against 50% of cavities for up to four years!